Floor Care

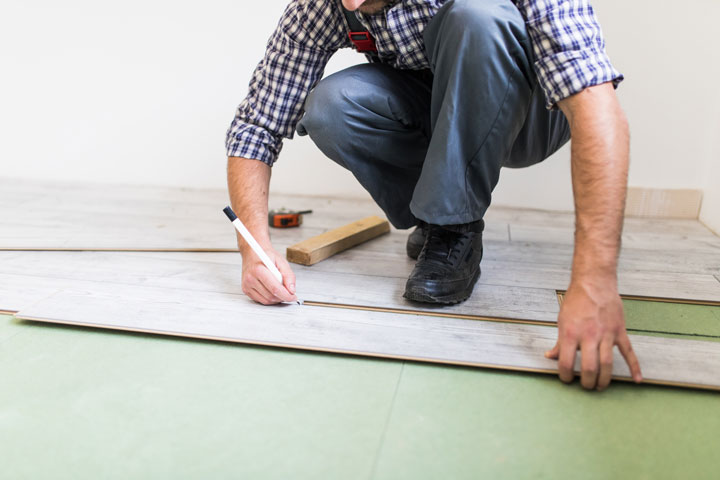
young worker lining floor with laminated flooring boards
Blog, Floor Care, Laminate Flooring, Recommended Blog, Tips & Tricks, Water Damaged Floors

How to Fix Laminate Flooring That is Lifting [And Why It Happens]

Whether you’ve installed it yourself or hired a professional to do it, there’s nothing more disappointing than seeing lifting in your laminate flooring after it’s installed.

If you’re frustrated by lifting or buckling in your laminate floors and want your floors restored to their original beautiful condition, all you need is a bit of time, patience, and elbow grease to get it looking great again. 

Here, we’ll teach you how to fix laminate flooring that is lifting in just four easy steps. But first, let’s figure out the root cause.

Why is My Laminate Floor Lifting?

A lifted laminate floor isn’t a one-size-fits-all issue. There are several reasons why your laminate flooring may be lifting in certain areas, and the key to resolving the issue once and for all is recognizing the cause behind it. Once you can identify the weakness in the flooring, you can target it and ensure the problem doesn’t arise again.

From excess moisture to an uneven foundation, here are the main reasons your laminate floor may be lifting. Here are a few.

Underlying Moisture Problem

If there’s excess moisture within the subfloor or the concrete slab on which you’re laying the flooring, the laminate may not lay as flat as you’d like. If it’s more than 6-9% damp, you may need to use a dehumidifier or try to dry out the area before the floor can be laid.

A floor underlayment can avoid this issue, helping keep future problems at bay by protecting the new laminate from additional moisture underneath while also reducing noise.

Not Properly Installed

If laminate flooring is not laid down properly, such as the interlocking pieces not installed precisely, the flooring installed too tight against the wall, or the flooring not adequately acclimated, it may not have the final look you’re hoping for.

If interlocking pieces aren’t connected correctly, gaps can form between the planks, and it can look uneven. If it’s too tight against the wall, it can cause warping or buckling, especially when the indoor humidity or temperature change.

If the laminate isn’t acclimated to the internal temperature and humidity before being laid, it may shrink or grow once laid, causing lifting.

Uneven Subfloor

An uneven surface on the subfloor or concrete slab on which the floor is laid can cause bouncing or lifting. While a self-leveling compound may be able to level concrete slabs, a severely uneven subfloor may need a practiced contractor to fix the issue.

No Expansion Gaps

If no narrow gaps are left at the edges of the laminate pieces, there’s no extra space for swelling as the humidity fluctuates, which may lead to lifting as the seasons change. It’s imperative to leave this tiny bit of space between sections.

How to Fix Lifting Laminate Flooring

Learning how to fix a laminate floor that is lifting all boils down to understanding what’s causing the problem in the first place and using the right technique to target the cause.

If you’re dealing with an uneven subfloor, your solution will look different than if your problem is moisture damage, and so on.

First, ensure you know the source of your issues, and then find the right solution below.

1. Fixing an Uneven Subfloor

If you’ve installed your laminate flooring on a subfloor that is uneven or not level, you’ll want to level out your foundation before you can reinstall your flooring.

To do this, lift up the lifted sections from the floor. Look at the subfloor below it and inspect it to find lifted or depressed areas. Using a sanding machine or grinder, you can even out the surface. If you don’t have the equipment to do this, call your local flooring experts to handle the complicated task of precision sanding and reinstallation.

Before placing the laminate back down on the newly sanded surface, add underlayment to hide imperfections even more, and use a block and mallet to get the floorboards back in their proper places.

2. Fixing Moisture Damage

If your planks are absorbing excess moisture, they can swell and take up more room, thus lifting from the floor. First, find the source of the water. This could be a leak in the ceiling or wall, or it may simply be excess moisture in the home

A professional can help you locate the source of additional humidity if you can’t find it. Once that root issue is solved, you can remove the portions of the flooring that are lifted, add a moisture-resistant underlayment to prevent excess moisture from leaking in. A moisture meter test can confirm an acceptable moisture content.

3. Fixing Lack of an Expansion Gap

If you didn’t leave an expansion gap before, then you’re looking at the job of removing all your boards and cutting them to include an expansion gap of about ¼ inch. This can be a big undertaking, so calling professionals to handle this re-flooring job might be in your best interest.

4. Consider Getting New Flooring

Most of these solutions involve a great deal of work. While you might have the time or even the skill, it’s a great deal of work that requires close attention to detail and benefits from the years of experience and expertise of flooring specialists. You should consider calling GC Flooring and getting new flooring installed so you can avoid DIY mistakes and get beautiful flooring that lasts.

Contact the Experts

Now that you’ve learned how to fix laminate flooring that is lifting (and discovered that the trick is pinpointing the cause of the lifting in the first place), you can approach your flooring issue with objectivity and understanding. 

While you might be tempted to fix the problem on your own, sometimes, the job is more extensive than it seems, and you can benefit from finding a trusted and experienced local specialist to pinpoint your problem and eliminate it at the source.

GC Flooring can help you with your commercial or residential flooring needs and ensure the best results. Contact our team to learn more or get started today.

GC Flooring Pros
Floor Care, About Floors, Blog, Hand Scraped Wood Flooring, Hardwood Flooring, How-to, Interior Design, Tips & Tricks

Four steps to expect during the Hardwood Floor Installation process

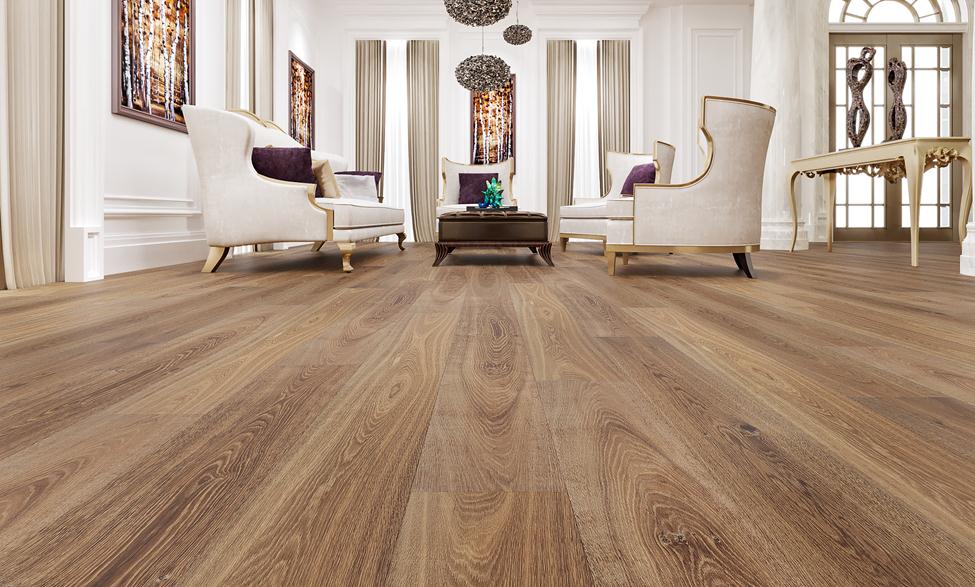
White Oak Hardwood Flooring


Are you considering a flooring upgrade in your home? If you don’t know where to start or feel overwhelmed by the various design, grain, and color choices, take a deep breath because you have come to the right place!  At GC Flooring Pros, we will walk with you throughout the entire process, and to give you a heads up, here are four steps that we follow during the hardwood floor installation process, so you know what to expect:

STEP 1: Free In-Home Consultation

Once we set up an appointment, we offer a complimentary in-home consultation. It’s important that we hear your preferences as to the type and style of floors you’re wanting, and so that we can see your space, wall and cabinet colors etc in order that we can offer you the best options to enhance your home. We will also measure the rooms to give you the estimate and bring some different flooring samples. We offer several wood species, plank widths, stain colors, patterns, and designs and typically will bring the most popular choices to start.

STEP 2: Room Preparation

Once you’ve ordered the floors from GC Flooring Pros, and prior to the installation, we will inform you when our expert installers will be coming so that you have ample time to remove all furniture, draperies/curtains, rugs, paintings and all other items from the room. We do offer furniture removal and replacement services which can be discussed at the initial consult.

STEP 3: Installation

During the installation, your home becomes a construction site, so it will inevitably be noisy and disruptive and dusty. It is also advisable to cover up any furniture in nearby rooms, to avoid debris and dust. If we have installed pre-finished floors, you won’t need to go to step 4, and at this time either you or we would proceed to moving your furniture back into your home.

STEP 4: Staining Your Floors

If we have installed unfinished floors, we will then sand, stain, and put polyurethane down. Once the finish is dried, you or we can move your furniture back. We suggest using felt pads under the furniture pieces, to minimize scratches and dents onto your new floors. You can walk on your new finished floors, 48 hours after the last coat of polyurthane has been applied.

Now that you’re aware of the 4 step process of installing hardwood floors in your home, if you have specific questions or would like a complimentary in-home consultation, contact GC Flooring Pros today! We look forward to making your dream floor designs, come alive!

GC Flooring Pros
About Floors, Blog, Floor Care, Hand Scraped Wood Flooring, Hardwood Flooring, House Renovation, Recommended Blog, Tips & Tricks

Hand Scraped Hardwood Flooring

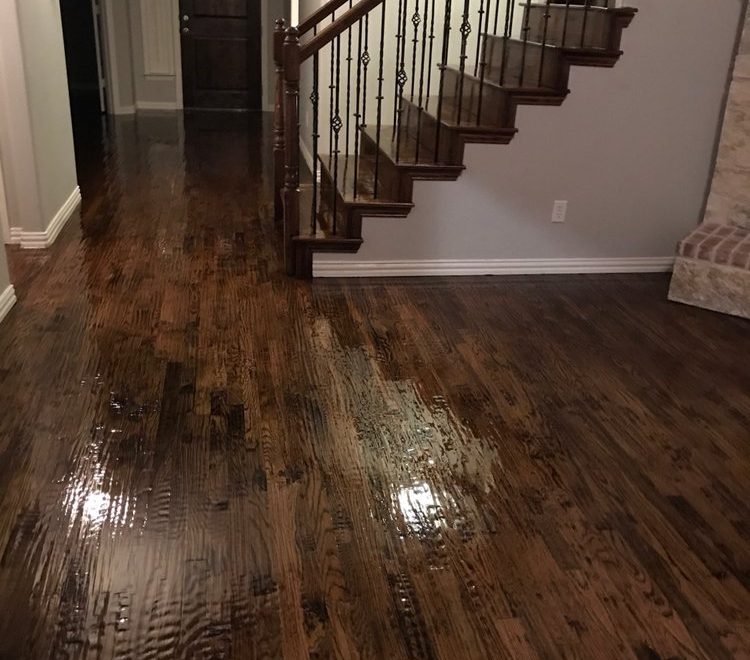
Hand Scraped Hardwood Flooring

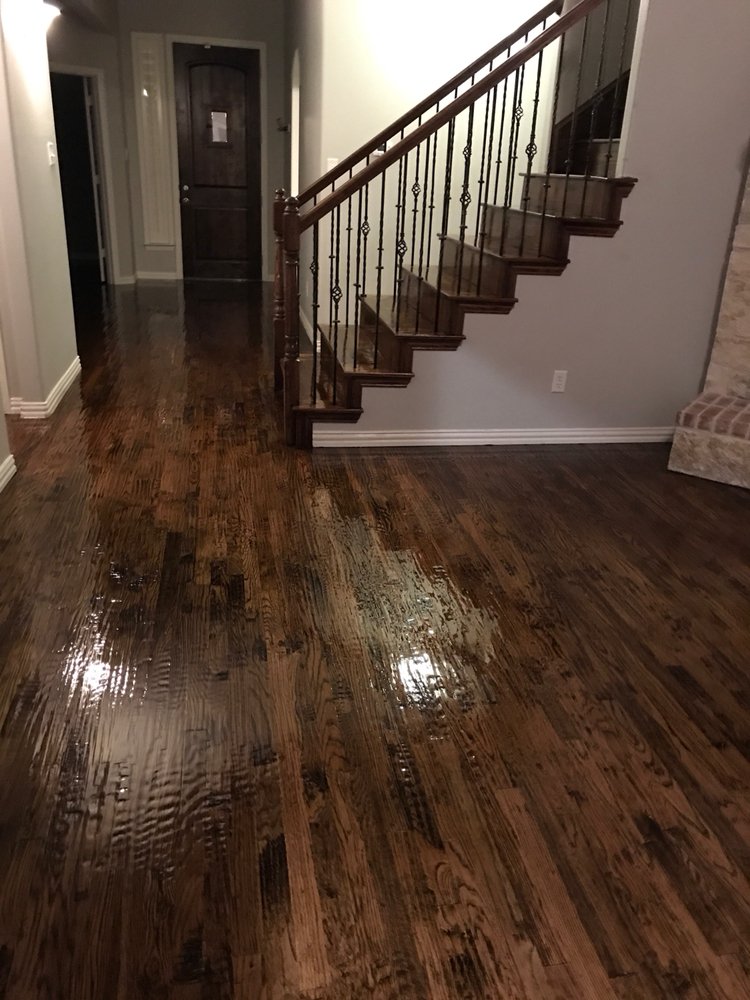
Hand scraped hardwood flooring is a very popular choice for homeowners who are looking to upgrade the design and beauty of their homes. Hand scraped wood has a beautiful, natural texture that brings out the wood’s natural aesthetic beauty and creates a classic, timeless atmosphere of warmth and character. Hand scraped hardwood flooring also has a unique look.

What Is Hand Scraped Hardwood Flooring

Hand scraped is actually just another way to describe hand-sanded floors. Hand-sanding is the process of using heavy-duty sandpaper to wear away at the floor’s surface until it is smooth, and level. Hand scraped hardwood floors are a fairly recent development in the flooring industry, but they have become a favorite for many homeowners over the past decade. Hand-sanded floors fit seamlessly with casual contemporary or shabby chic decor schemes, but their hand scraped texture makes them well suited to formal traditional settings as well

Hand scraped hardwood floors are a current trend that leaves distinct grooves and marks on a floor, giving a room warmth, history, and personality. By opting for hand scraped hardwoods, homeowners can make their brand-new floors look like they’re 100 years old. This style of flooring goes well in any type of home

The surface texture of hand scraped wood (also known as hand sculptured wood) brings out the wood floor’s natural aesthetic beauty and creates a classic, timeless atmosphere of warmth and character. With varying patterns from plank to plank, your home will stand out and be the welcoming space you will want to come home to!

The surface texture of hand scraped wood (also known as hand sculptured wood) brings out the wood floor’s natural aesthetic beauty and creates a classic, timeless atmosphere of warmth and character. With varying patterns from plank to plank, your home will stand out and be the welcoming space you will want to come home to!

At GC Flooring Pros, we will assist you throughout the entire process of selection (from our numerous styles, species, and colors), installation, and provide you with the tools to care for your hand scraped wood floors so they maintain their beauty and life for years to come.

Contact us today for your free in-home consultation. Let’s get started on that upgrade today!

tips on how to choose the prfect stain for your hardwood floor
About Floors, Blog, Floor Care, Hardwood Flooring, How-to, Recommended Blog, Tips & Tricks

How to choose the right stain for your hardwood floor

Hardwood floors are a beautiful addition to any home. Their timeless and natural look has the power to brighten even the dullest of places. From white oak to Brazilian walnut hardwood floors offer a decent flooring choice for every taste and wallet. However, the species of hardwood isn’t the only thing to determine the appearance of the floor, the stain is just as important.

Not all floors stain the same way

Different wood species come with different natural characteristics. This doesn’t only determine their performance in a certain environment but also dictates how they absorb stain so that using the same stain on two different kinds of hardwood can lead to absolutely non-comparable results. The reason behind this is their contrasting hardness. Some harder woods are denser while others are more porous and soft. This makes it easier for the staining liquid to get into the pores.

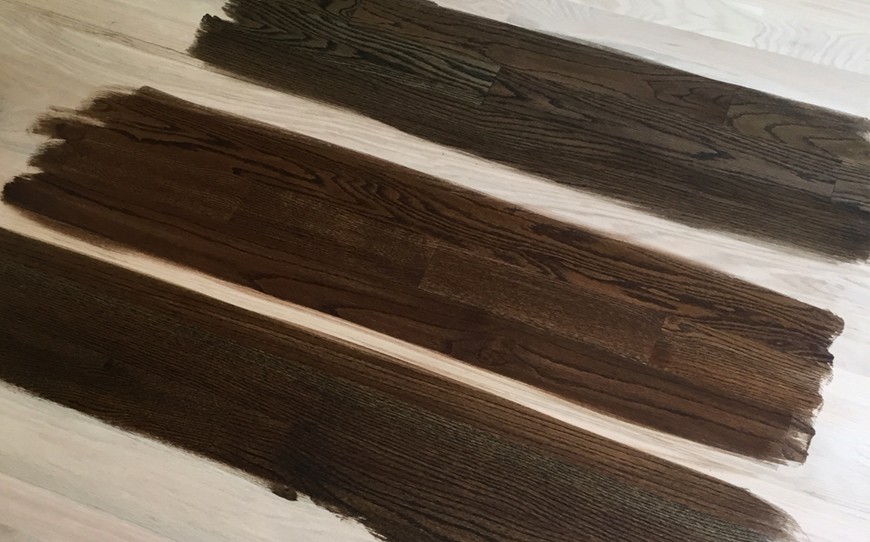
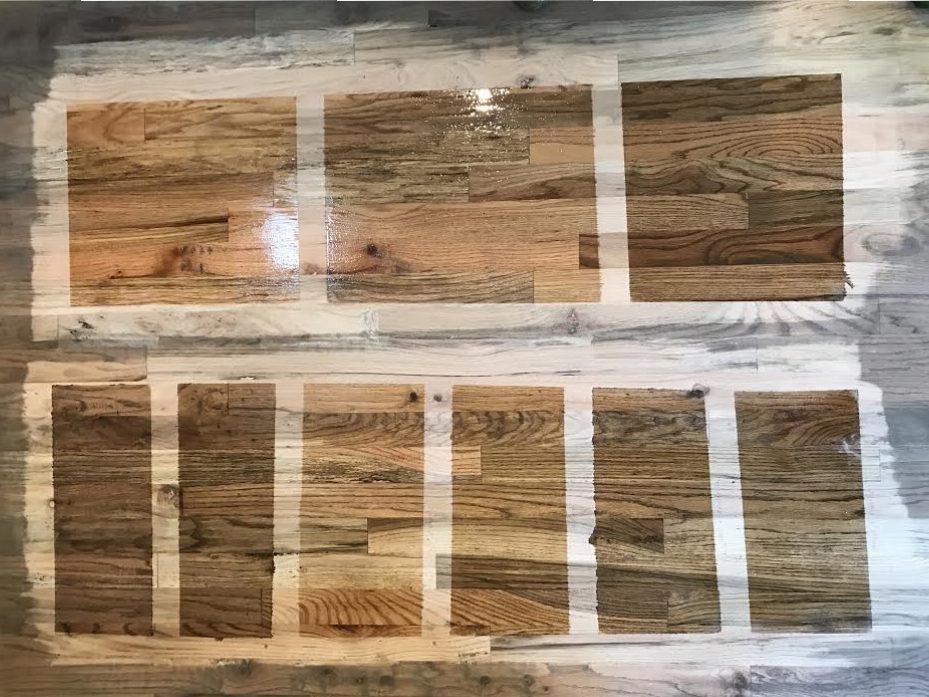
To avoid any color inconsistency it’s important to test your stain prior to application. This will give you the advantage of knowing exactly what the stain of your choice will look like on your species of wood. At GC Flooring Pros we test sample spots for our customers to find the perfect match. We only use high-quality wood stains. Some of the colors you may choose from are listed on the DuraSeal website.

stain test e1499630700931
Doing a stain sample will help you get the stain color for your specific hardwood species just right without having to play the guessing game.

Stain makes the room

A room is like an organism, it’s an amalgamation of different goods with different purposes that function as one. Ideally, nothing’s out of place and every detail is carefully thought through.
The floor being one of the largest surfaces in a room can greatly affect the dynamics of the space. Wrong stain tone can not only clash with your décor but affect the quality of the time you spend in the room. But the right stain can tie the place together and make your stay more enjoyable. So before making a decision, consider how it will compliment everything else in the room including the wallpaper, furnishings as well as general style and accent colors.

The most popular colors these days are Ebony, Antique Brown, Provincial, Dark Walnut, Medium Brown, Weathered oak and some combinations. If you’re going for a lighter color we suggest using white oak rather than red oak.
To give your hardwood floor an even richer look we use polyurethane varnish.
Keep in mind that the type of polyurethane can affect the color of the stain after application so there is even more reason to do a stain test first. As a general rule, oil based polyurethane tends to darken the wood a bit but it’s slightly better at resisting scratches, moisture and heat when compared with the water-based alternative. Then again, applying a water-based poly won’t lead to any changes in tone and will preserve the wood’s natural tone. You also have to choose a matte, satin, semi-gloss, or gloss polyurethane. Matte and satin are becoming more trendy, we are seeing that wood floor conglomerates do not want as much sheen these days.

Even though choosing the right stain colors can be difficult, there is not much to worry about. With solid or even thicker engineered hardwood floors you can easily refinish them to give the flooring desired tone.
Meanwhile here are some tips to help you find the perfect stain color for your hardwood floors:

Light stain

A lighter stain can help make a dark room appear brighter and more spacious than it really is. If you have dark furniture, installing lighter hardwood with somewhat matching stain will create a beautiful contrast and help your decor stand out. By choosing a lighter stain, you won’t have to clean nearly as often as in the case with dark stained floors since dust is less visible on a lighter surface. However, light stains aren’t as good at hiding hardwood’s natural imperfections as its darker alternatives.
The contrast they create with darker

Medium stain

If you aren’t one for dramatic changes this is the stain for you.
While medium stain won’t really affect the overall colour scheme of the room, it will most certainly compliment many other wooden details in your decor and still help tie the room together. A medium stain is also a reasonable option if you haven’t decided on the look of the space yet and would like to keep as many options for wall & furniture colors open as possible.

Dark stain

Dark stained floors are elegant and will help ground your bright room nicely. The balance between darker bottom and lighter top parts of the room will make the space more inviting and help the accent colors in your interior stand out more. A darker stain is superior for hiding hardwood’s natural flaws but it falls short when dealing with inflicted imperfections like scratches. Pet hair and dust aren’t easy to hide either. In a word, if you have a dog or a small child or expect above average wear because of any other reason it’d be a safer bet to go with lighter stain.

GC Flooring Pros
Blog, Floor Care, Laminate Flooring, Tips & Tricks

Floor care tips for laminate flooring

Laminate floors have a reputation for being difficult to mop.
However, contrary to what many say, once you have all the right tools and knowledge, cleaning your laminate flooring is a walk in the park.
To save you time and help your sanity here’s a handy guide to the do’s and don’t of laminate maintenance.

Don’t sweep your laminate floor

Yes, you got dirt and dust on your pretty laminate floor. No, you shouldn’t use a broom. Turns out, the traditional broom is by far not the best tool to clean your laminate floor. That would be a dry dust mop. Regular broom leaves particles behind that later get mixed with the wet mop and get tossed around leave streaks and residue all over the place. In the worst-case scenario, they might even scratch the laminate’s surface. If you prefer using a vacuum cleaner instead, make sure you have a hard floor setting selected. Just like the leftover particles, the brush roll setting on your vacuum cleaner can scratch and damage the laminate flooring over time.

Use less cleaner

Most tips on laminate floor maintenance focus on what kind of cleaner you use. Yes, it’s important that the chemicals you tidy with are compatible with your floor type. What’s a lot less discussed is the amount of cleaner you ought to apply to your floor.

Using more cleaner doesn’t equal a cleaner floor. Usually, it equals wasted money and a ruined floor. Too much cleaner leaves a residue after that dulls the finish of your laminate. Our tip? Sometimes just a little water goes a long way.